
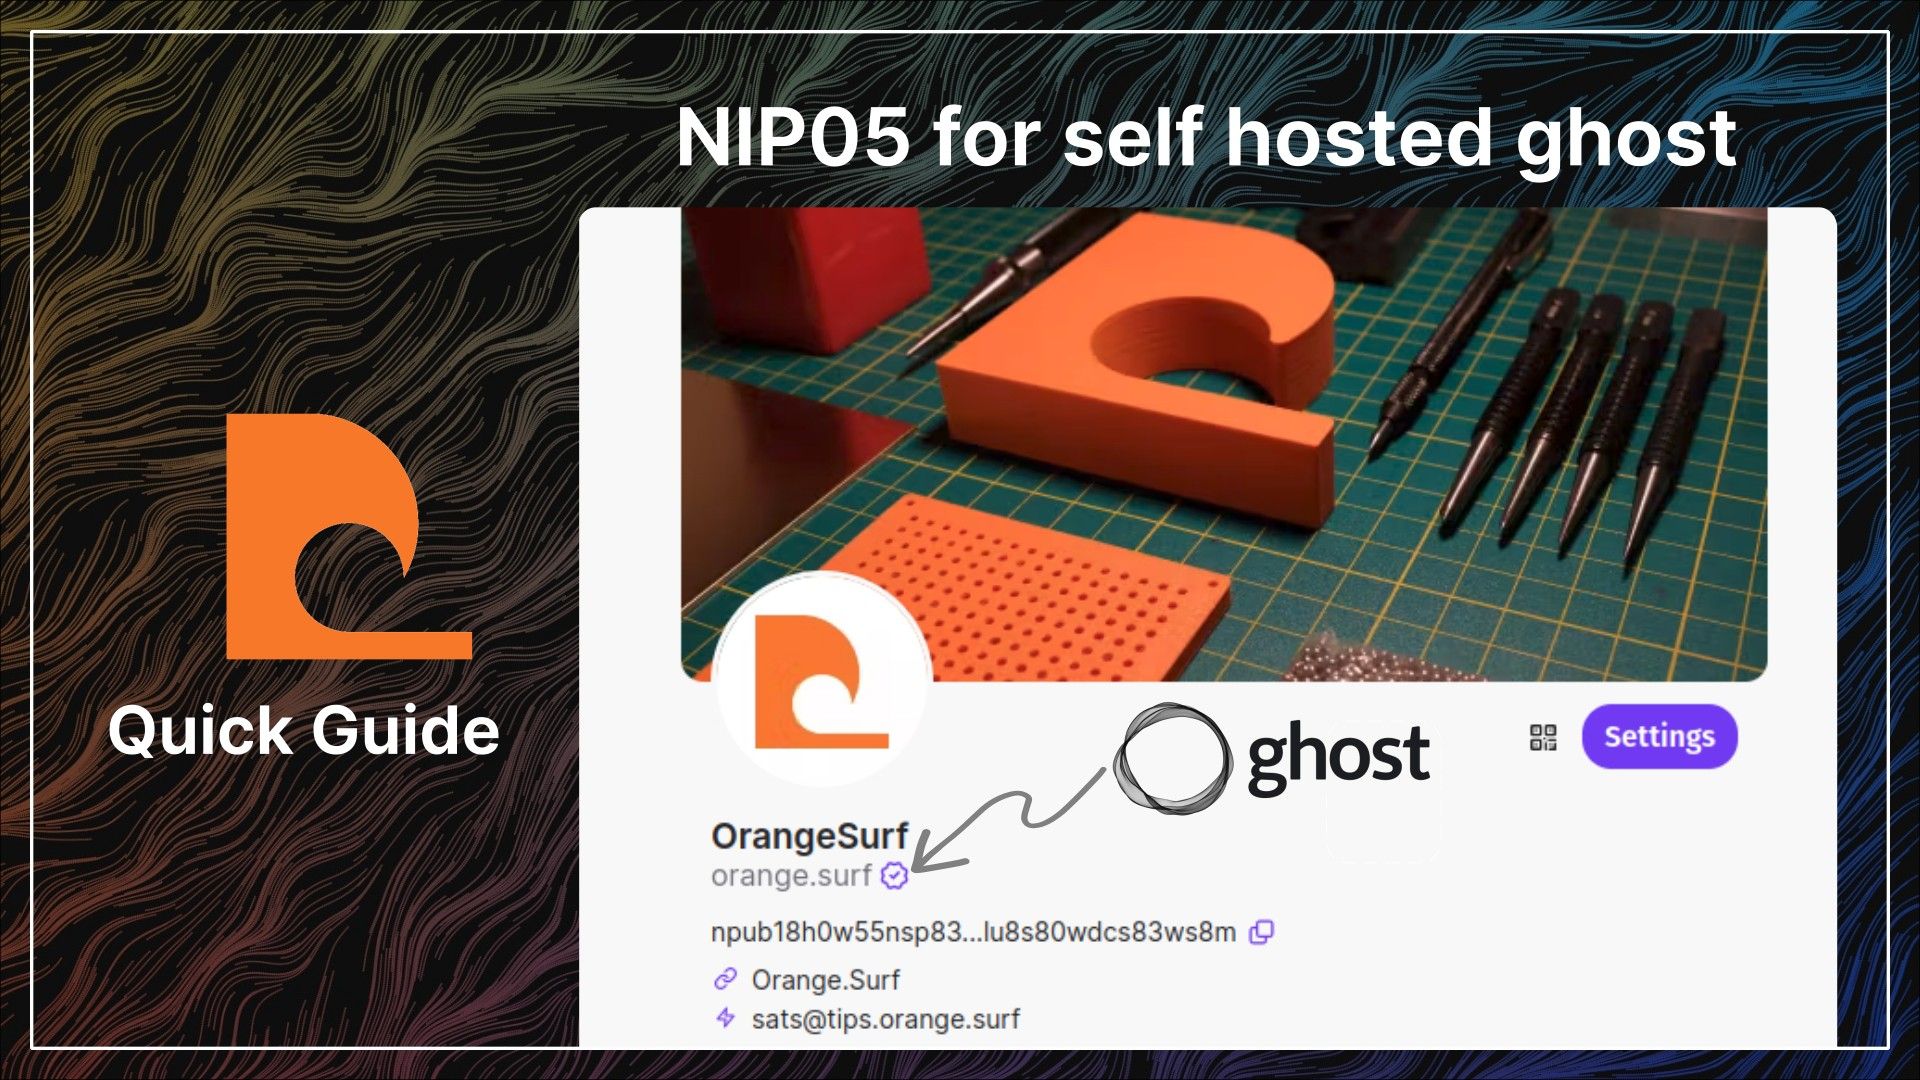
Self Hosted Ghost Blog
This is a 1000 word guide. I am testing a $0.25 paywall.
VPS
Sign up for LunaNode and add credit to your account with Bitcoin (Onchain & Lightning are both accepted).
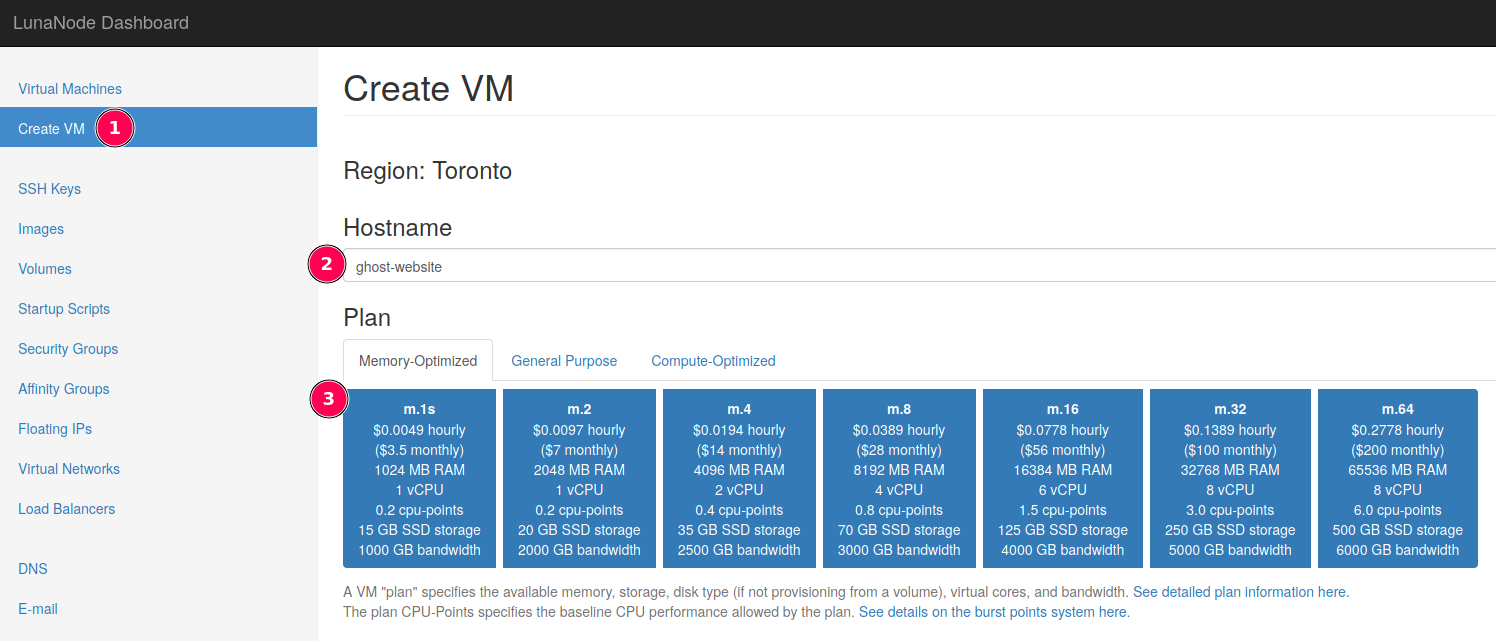
Create a new virtual machine, an m.1s is enough. Set a hostname without spaces that is descriptive.
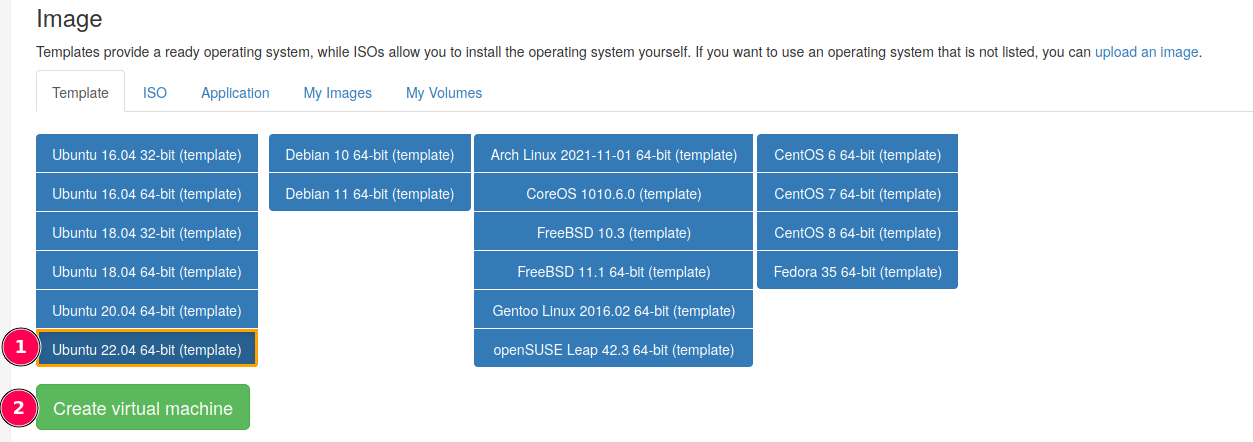
Select the 22.04 Ubuntu 64bit template
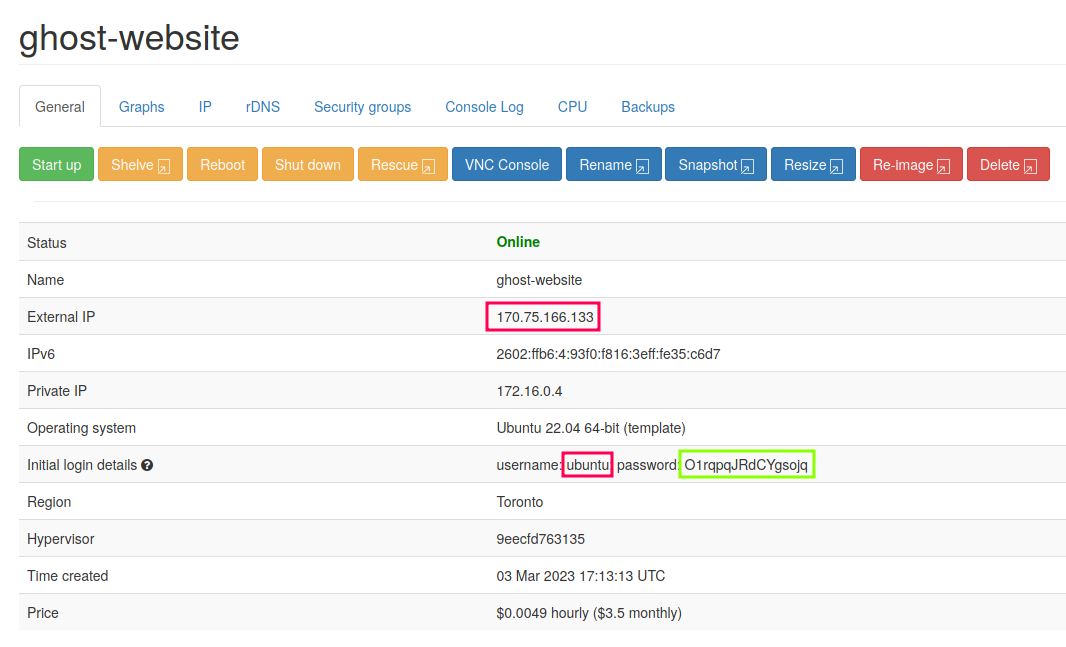
Click on your server

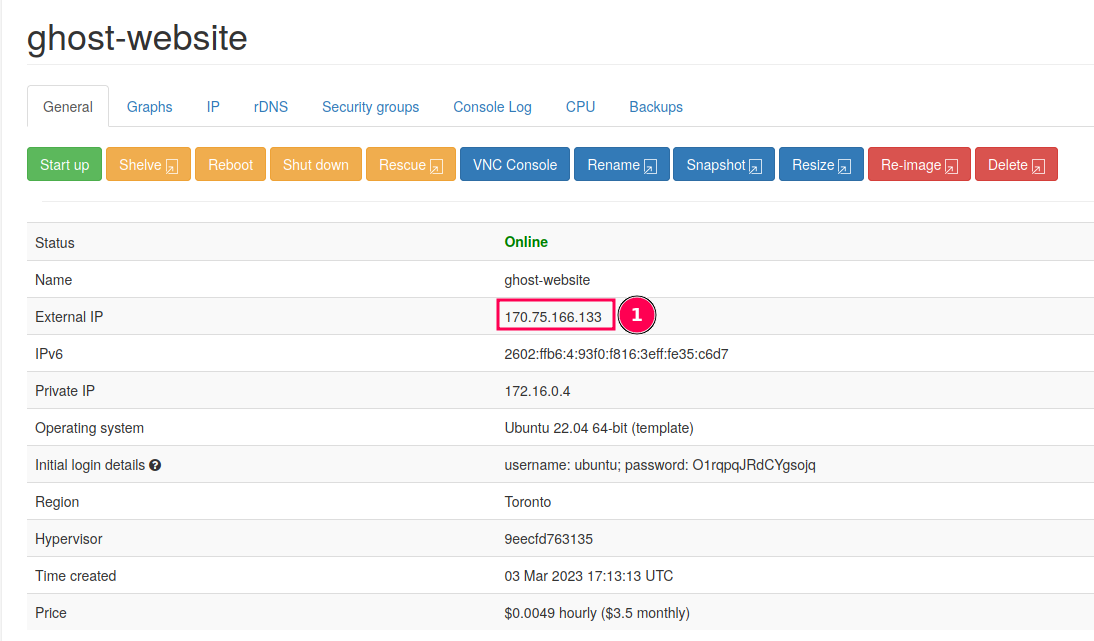
Refresh the page until your Ubuntu VM is online. Copy the External IP address.
Open your domain registrar and edit the DNS records for your domain to include an A-Record from you domain, pointing to the server’s External IP address.

To log in you need the data in the red boxes in the format username@externalIP (ubuntu@170.75.166.133) and the password in the green box.
To log into the server open a terminal and type
# SSH into the VPS (i.e. ubuntu@170.75.166.133)
ssh username@externalIP

# Response will ask for (yes/no/[fingerprint])
yes <enter>

# Response will ask for password
# Enter {Password1} from the green box above
# The password will be invisible while typing / after pastig
<enter># switch to root user (if not logged in as root)
sudo su
# Add a new user called ghost_admin
adduser ghost_admin
# enter a password for ghost_admin and keep a copy of it
{Password2}
# retype password
{Password2}
# Press enter until asked Is the information correct? [Y/n]
Y {enter}
# Give the new ghost_admin user sudo permissions
usermod -aG sudo ghost_admin
# Update
apt-get update
# log out of the VPS
exit <enter>
exit <enter>
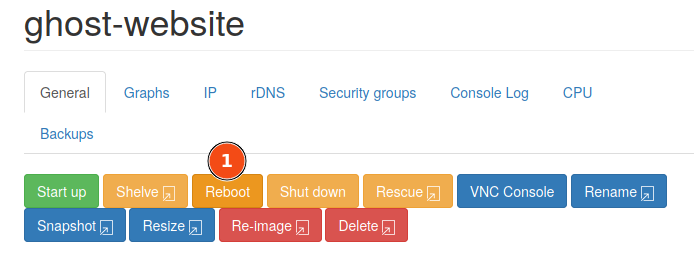
Click Reboot on the VPS
# Log back into your VPS as ghost_admin
# (i.e. ssh ghost_admin:170.75.166.133)
ssh ghost_admin@external ip

# Enter {Password2}
{Password2}
<enter>
Paste the below commands and follow the prompts, entering your ghost_admin password and Y
sudo apt-get update;
sudo apt-get upgrade;
sudo apt-get install nginx;
sudo ufw allow 'Nginx Full';
sudo apt-get install mysql-server;
curl -sL https://deb.nodesource.com/setup_16.x | sudo -E bash;
sudo apt-get install -y nodejs;
sudo npm install ghost-cli@latest -g;
sudo mkdir -p /var/www/ghost;
sudo chown ghost_admin:ghost_admin /var/www/ghost;
sudo chmod 775 /var/www/ghost;
cd /var/www/ghost;
# # switch to root user (if not logged in as root)
sudo su

# Run mysql
mysql

# Replace {Password3} with a password of your choice
# This sets your root mysql password to {Password3}

ALTER USER 'root'@'localhost' IDENTIFIED WITH mysql_native_password BY '{Password3}';

# Did you replace {Password3} with your password?
# If not do it now, if yes press <enter>

# Should have the response 'Query OK, 0 rows affected (0.01 sec)'

exit <enter>
# Should have the response 'Bye'

# Check mysql password
mysql -u root -p

# enter {Password3}
{Password3}
<enter>

# Check response is "Welcome to the MySQL monitor ..."

# Exit back to ghost_admin@server:/var/www/ghost$
exit {enter}
exit {enter}
Run ghost install. The downloading and installing ghost step can take a couple of minutes. Step through the configuration as shown
✔ Downloading and installing Ghost v5.37.0
✔ Finishing install process

# Blog URL - Enter your url
? Enter your blog URL: (http://localhost:2368) {your.domain} <enter>

# MySQL Hostname: default, just press <enter>
? Enter your MySQL hostname: (localhost) <enter>

# MySQL Hostname: root, press <enter>
? Enter your MySQL username: root {enter}

# MySQL Hostname: {Password3}, press <enter>
? Enter your MySQL password: {Password3} <enter>

# Ghost database name: default, just press <enter>
? Enter your Ghost database name: {enter}

✔ Configuring Ghost
✔ Setting up instance
+ sudo useradd --system --user-group ghost
? Sudo Password {Password2}

# ghost" mysql user (Y)
# nginx (Y)
# SSL (Y)
# Enter email for ssl {your@email.com}
# System d (Y)
# Start Ghost (Y)

# When complete you should see
Ghost was installed successfully! To complete setup of your publication, visit:

    https://your.domain/ghost/
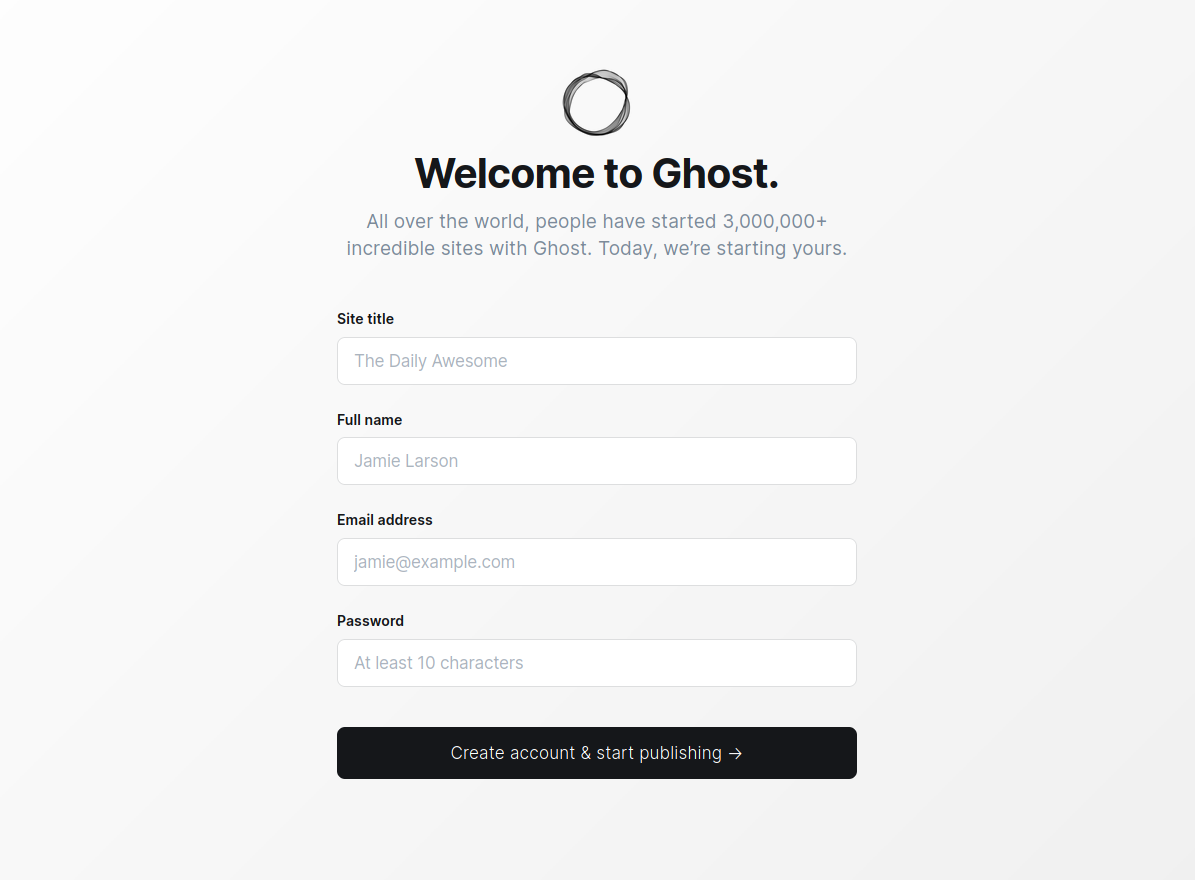
Now go to https://your.domain/ghost/ and start configuring your website!

